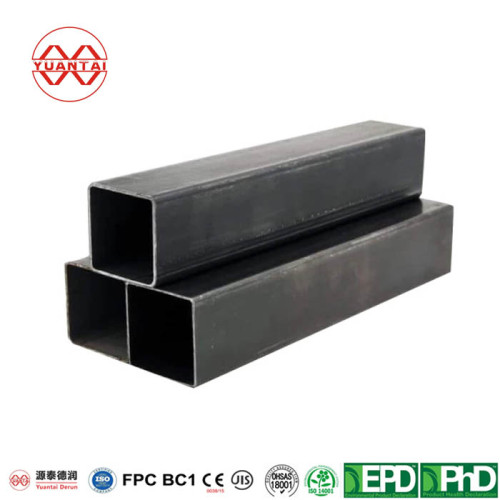

How Much Weight Can a Square Tube Hold?
How Much Weight Can a Square Tube Hold?
When working on a structural design or a serious DIY project, square tubes are a go-to choice. Faced with a rack of different sizes, the fundamental question always is: "How much can this one hold?" While formulas are readily available online, blindly applying them is a recipe for failure. How do you know if a tube is strong enough? It takes more than math—it takes practical judgment from experience.
Quick answer:
It depends on three things — outer size, wall thickness, and span. As a rule of thumb, a 2" × 2" × 1/8" A36 square tube spanning 6 ft can carry about 160 lb of evenly distributed load; a 4" × 4" × 1/4" tube at the same span carries about 1,460 lb. See the reference table in Part 2 for more sizes, and always apply a factor of safety of at least 2.
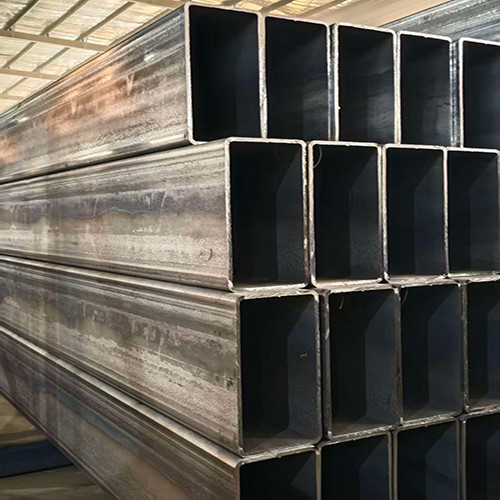
Part 1: Developing the "Feel": Understanding the Tube's Character
Think of a square tube as a structural skeleton. A tube's strength comes from its material and size. However, how you support it matters. Where you put the load usually matters most.
Material Personality: Mild steel like ASTM A36 is the reliable, strong "workhorse"—most common and dependable. Aluminum is the "lightweight specialist," about one-third the weight of steel but also about one-third the strength. Stainless steel resists corrosion well, making it ideal for harsh environments. However, it is more expensive and typically not as strong as carbon steel.
Rule of Thumb #1: Carbon steel (like A36) is the go-to choice. Only pick stainless for corrosion, or aluminum for weight, if you absolutely must.
The Deception of Size: Many people focus only on the outer dimension, say 4"x4" (100mm x 100mm). This is dangerously incomplete.
The wall thickness is the real "hidden spec" that determines strength. A 4"x4"x0.25" wall tube and a 4"x4"x0.375" wall tube look similar, but the latter can be over 50% stronger in bending and compression. The key parameter, the Moment of Inertia (I), is extremely sensitive to wall thickness.
My Advice: When selecting, treat "Outside Dimension x Wall Thickness" as a single, critical identifier. For a given outer size, prioritize a thicker wall.
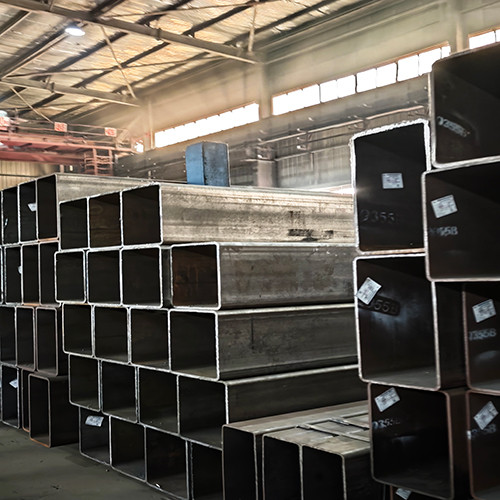
Part 2: The Core Calculations: Avoid Mistakes, Understand the "Why"
Formulas are tools, but you must know their limits.
1. The Classic Scenario – A Point Load in the Center
The formula M = F × L / 4 is correct, but it describes a highly idealized case: a simply supported beam with a concentrated load at the exact center, causing pure bending. This is your starting point for assessing bending strength, not the finish line.
Real-World Deviation 1: If the weight is spread evenly along the tube (e.g., a platform), it's a uniformly distributed load (UDL). The max moment becomes M = w × L² / 8 (where w is force per unit length). For the same total weight, a UDL is less demanding on the tube than a center point load.
Real-World Deviation 2: If the tube ends are welded into fixed connections, its capacity increases significantly. However, calculations become much more complex. I strongly recommend using structural analysis software for fixed-end conditions.
2. The Most Common Calculation Error – Moment of Inertia (I)
This is the core physical property resisting bending. The common formula I = b × h³ / 12 is for a solid rectangular bar! Using it for a hollow section grossly inflates 'I' and is dangerously misleading.
You must use the formula for a hollow rectangular section:
I = [B × H³ - (B - 2t) × (H - 2t)³] / 12
Where B=outer width, H=outer height, t=wall thickness.
Example: Take a 4"x4"x0.25" (100x100x6.35mm) A36 tube.
Wrong (Solid): I = (4 × 4³)/12 = 21.33 in⁴
Right (Hollow): I = [4×4³ - (4-0.5)×(4-0.5)³] / 12 ≈ 7.23 in⁴
See the difference? The wrong value is nearly three times higher. Using it creates a false and dangerous sense of safety.
3. The Non-Negotiable Step – Factor of Safety (n)
After calculating maximum bending stress (σ), never compare it directly to the material's yield strength (σ_yield). You must divide the yield strength by a Factor of Safety (n).
The safety criterion is: σ ≤ σ_yield / n
Why? Material properties vary, fabrication isn't perfect, loads can exceed estimates, and our models are simplified versions of reality. That’s why we have a Factor of Safety — to cover all these unknowns.
Static loads, well-understood conditions: n = 1.5 to 2.0.
Dynamic loads, shock loading, or life-safety critical structures: n must be 2.5 or higher, often 3.0+.
Many amateur design failures happen because someone thought "my calculated stress is below 36 ksi, so it's safe," completely ignoring the Factor of Safety.
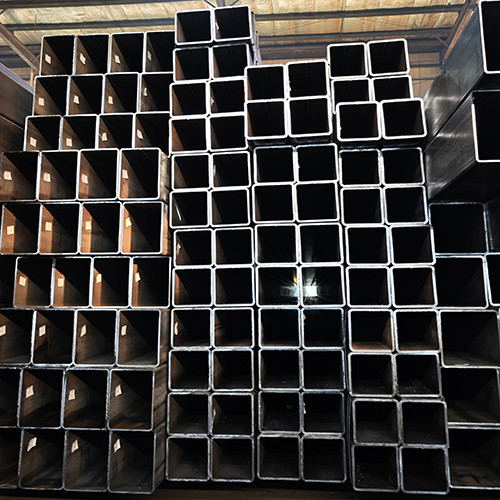
Square Tube Load Capacity Reference Table (A36 Steel, Uniform Load)
The table below gives indicative allowable uniformly distributed loads for common A36 square tube sizes, as a simply supported beam. Values are calculated with a factor of safety n = 2.0 and limited by both yield strength and a deflection limit of L/240 — whichever governs. Values are net of the tube's own self-weight.
| Size (in × in × wall) | Self-weight (lb/ft) | 4 ft span (lb/ft) | 6 ft span (lb/ft) | 8 ft span (lb/ft) | 10 ft span (lb/ft) | 12 ft span (lb/ft) |
| 1 × 1 × 1/8 | 1.5 | 56 | 16 | 6 | 2 | 1 |
| 1-1/2 × 1-1/2 × 1/8 | 2.3 | 216 | 63 | 25 | 12 | 6 |
| 2 × 2 × 1/8 | 3.2 | 411 | 161 | 66 | 32 | 17 |
2 × 2 × 1/4 | 6.0 | 678 | 266 | 109 | 53 | 28 |
2-1/2 × 2-1/2 × 1/8 | 4.0 | 668 | 294 | 137 | 68 | 38 |
3 × 3 × 1/8 | 4.9 | 987 | 436 | 243 | 123 | 69 |
3 × 3 × 3/16 | 7.2 | 1389 | 614 | 342 | 173 | 97 |
4 × 4 × 1/8 | 6.6 | 1814 | 802 | 448 | 285 | 174 |
4 × 4 × 1/4 | 12.8 | 3298 | 1459 | 815 | 517 | 316 |
6 × 6 × 1/4 | 19.6 | 7917 | 3508 | 1964 | 1250 | 862 |
How to read this table:
Values assume the load is spread evenly along the tube (uniformly distributed load). A single point load at mid-span is more demanding — reduce the allowable load by roughly half, or calculate M = F × L / 4 directly.
Values assume simple supports (tube rests on, or is loosely bolted to, its supports). Fixed or welded ends increase capacity but change the calculation — see Part 3 above.
Long spans are governed by deflection (sag), not strength — notice how capacity drops quickly after 8 ft even for larger sizes.
For sizes and tolerances beyond this table, see our complete square steel pipe size range.
Part 3: The Silent Killer Stronger Than Yield: Buckling (Instability)
A common pitfall for beginners is to ignore this. Remember to check it. Under compression, a long, slender tube will buckle—meaning it bends sideways—well before the material reaches its failure strength.
Global (Euler) Buckling: Like a long strut or a ruler pressed from the ends. For long columns, the critical buckling load is given by Euler's Formula: P_cr = π² E I / L². This force can be far lower than the tube's compressive strength.
Local Buckling: The tube doesn't bend globally, but its thin walls "dimple" or wrinkle. Common in tubes with thin walls relative to their width. It's like pressing on the side of an empty soda can.
A critical lesson learned the hard way: For square tubes in compression, especially those with a high slenderness ratio (Length / Radius of Gyration), the first check should be for buckling, not material yield strength.
Part 4: Your Practical Checklist
1. Define the Scenario: How is the load applied? Point, distributed, or moving? How is the tube supported? Simple supports or fixed? Is there vibration or impact?
2. Pin Down Key Properties: Determine material (find σ_yield), outer dimensions (B, H), and wall thickness (t).
3. Follow the Verification Flow:
Step 1 (Bending): Calculate the correct hollow 'I' -> Calculate max bending moment 'M' for your load case -> Calculate max stress σ -> Verify σ ≤ σ_yield / n.
Step 2 (Compression & Buckling): If the tube is primarily in compression, use Euler's formula to estimate the critical load P_cr. Ensure your working load is significantly less than P_cr. Also consider local buckling limits.
Step 3 (Check Stiffness): For long spans, excessive deflection (sag) may be unacceptable for function, even if strength is adequate. Estimate max deflection (e.g., for a simply supported beam with UDL: δ_max = (5 × w × L⁴) / (384 × E × I)) and see if it meets your serviceability criteria.
4.Trust Tools and Codes: For anything important or non-standard, don't rely solely on hand calculations. Use professional structural analysis software (or reputable, vetted online calculators) and, most importantly, check your final design against the relevant building/design code (e.g., AISC in the US, Eurocode in Europe). Codes bring together what's been learned from both theory and real-world failures. They're your ready-made, proven guide.
For standard hollow-section sizes, wall thicknesses, and available steel grades, see our square hollow section (SHS) size range.
Frequently Asked Questions
Q1:How much weight can a 2x2 square steel tube hold?
A 2" × 2" × 1/8" A36 square tube on a 6 ft simple span carries about 160 lb/ft of evenly distributed load (roughly 960 lb total), or about half that as a single point load at mid-span. A 2" × 2" × 1/4" wall tube at the same span carries about 266 lb/ft. See the reference table above for other spans.
Q:Is square tube or round tube stronger?
For the same weight of steel, a round tube resists torsion and uniform pressure better, while a square tube is easier to connect (flat welding faces) and stronger in one-direction bending for typical frame loads. For most racks, trailers, and frames, square tube wins on connection convenience and predictable orientation.
Q:What wall thickness should I choose for a load-bearing square tube?
Wall thickness matters more than most buyers expect: for the same outer size, going from 1/8" to 1/4" wall roughly doubles bending capacity because the moment of inertia grows with the cube of depth. When in doubt, choose the thicker wall — the cost difference is small compared to a failed frame.
Q:Does span length affect how much a square tube can hold?
Yes, dramatically. Bending moment grows with the square of span and deflection with the cube — doubling the span cuts the allowable load to roughly a quarter. This is why the reference table drops so quickly after 8 ft, and why long spans should always be checked for sag, not just strength.
Final Word of Caution: Judging the load capacity of a square tube is a blend of theory, practical experience, and a rigorous mindset. The most dangerous trap is reducing a complex problem to a single formula you just plug numbers into. When in doubt, play it safe: increase your safety factor or choose a larger section. It's the responsible and wiser choice.
Get Square Tube for Your Project
Yuantai derun steel produces square and rectangular steel pipe from 10×10 mm to 500×500 mm, wall thickness 0.5–25 mm, in A36, A500, S235JR–S355J2H and other grades, with mill test certificates and third-party inspection available. Send us your size, wall thickness, span, and load requirements — our engineers will help you select the right section.